

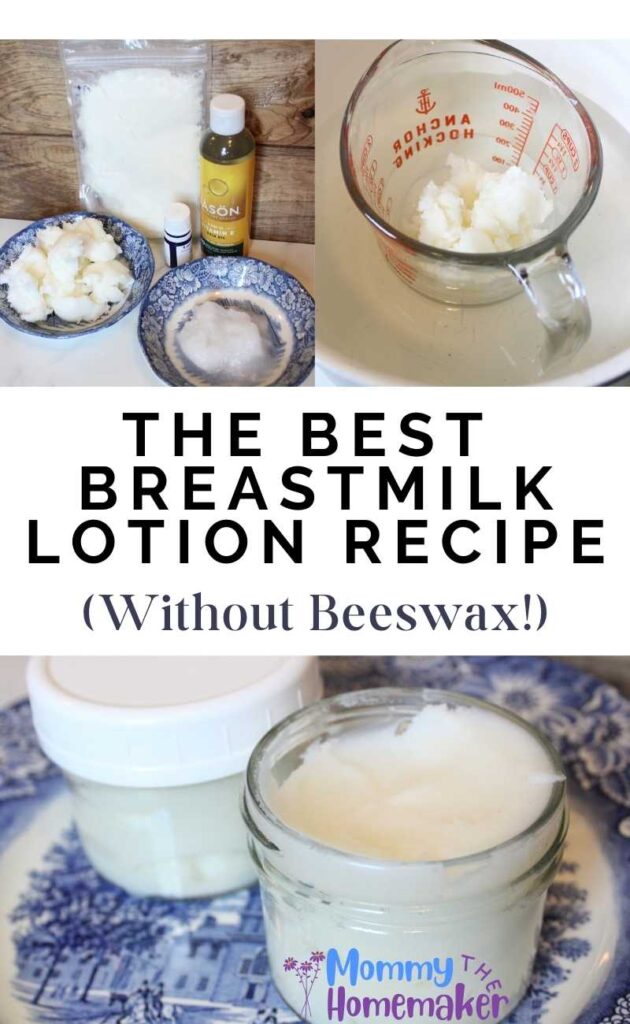
Have extra milk stored in your deep freezer? Check out this easy breastmilk lotion recipe below that doesn’t require beeswax, is an amazing moisturizer, and has absolutely NO harsh chemicals in it that could harm baby’s gentle skin.
At the end of my breastfeeding journey with my daughter, I quickly realized that I had a lot of leftover milk that wasn’t going to be used. After donating most of my stash, I started researching ways to use up the rest in a way that would still benefit my little one. And my goodness, I was not disappointed with all the amazing ways that breastmilk can be used!
Does your little one have some cradle cap going on? Breastmilk can help! Ear infections? Try breastmilk. Pink eye, diaper rash, and of course skin irritations.. This miracle liquid is truly the superior treatment.
I ended up giving my kids oatmeal milk baths for diaper rash relief, made popsicles for when my daughter was teething, and I even started making lotion out of it! Turns out it has a lot of amazing benefits that regular lotion just can’t beat, goes on smooth like butter, and is completely natural for your baby’s sensitive skin.
I love this recipe so much that I even made two versions! The one below does not have beeswax and has a softer texture. If you do have beeswax on hand, or want to get some to try out, it’s an amazing addition to the lotion. Beeswax is naturally waterproof, which helps protect the skin’s moisture barrier. You can checkout the other recipe including beeswax here.
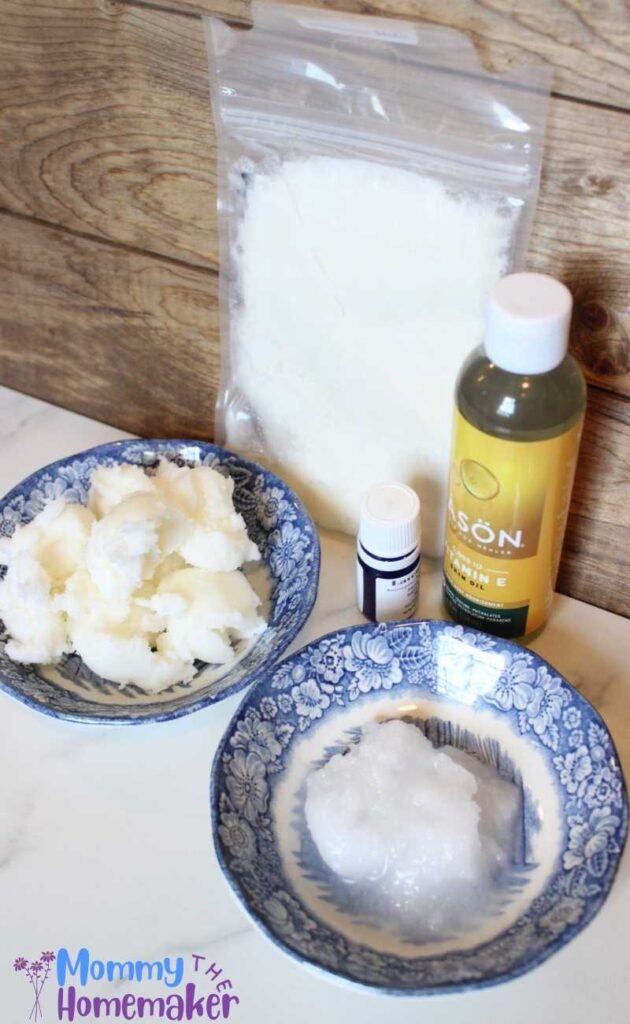
Ingredients Needed for Your Own Breast Milk Lotion
Carrier Oil
For your homemade lotion, you’ll need an organic carrier oil that will absorb into the skin well.
This can include:
Coconut oil
Grapeseed oil
Olive oil
Jojoba oil
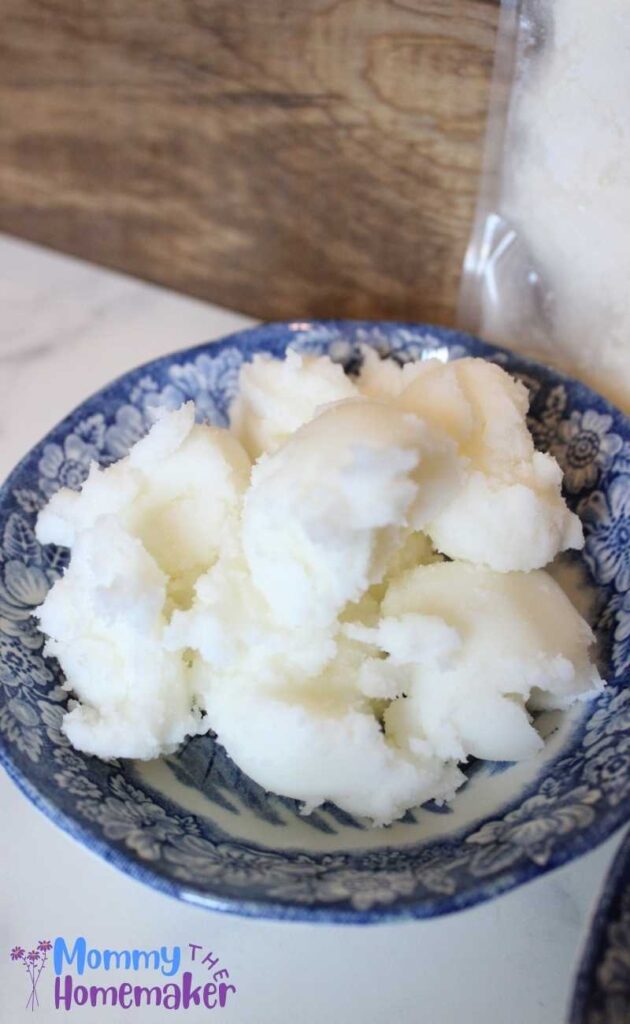
Beef Tallow or Shea Butter
Seriously – don’t skip on this one. It is THE essential ingredient for your lotion recipe (well, other than the breastmilk 😉 )
Both beef tallow and Shea butter have some amazing benefits, you honestly can’t go wrong with either! Tallow from 100% grass fed/finished beef is a great base for this lotion as it contains linoleic acid which helps protect the skin barrier, as well as reducing inflammation… meaning itchy dry skin? HEALED!
I love tallow so much because it has so many uses for our everyday life. We use it to cook with as a healthy alternative to harmful seed oils. I use it as a base for my children’s diaper cream, I also make a daily moisturizer and body butter with it. Let me know if you’d like an in depth post on all the ways tallow has changed our life.
Don’t have access to beef tallow? That’s okay! Shea butter is also an amazing base for this lotion recipe.
Shea butter is anti-inflammatory so it can take away redness in skin and help with eczema troubles. It provides sun protection, is naturally soothing, and is completely chemical-free. (Just make sure you get one that is organic and has nothing added).
A Few Drops of Vitamin E Oil
Adding some vitamin E oil to the breastmilk lotion is a great way to add some extra moisturizing benefits, which will help with skin elasticity.
Essential Oils (Optional)
Adding essential oils to the lotion is completely optional but is my favorite way to add a nice scent to the lotion without dealing with any artificial fragrances. However, essential oils ARE NOT recommended for babies under 3 months of age. If using on older babies, be sure to choose a pure, therapeutic-grade brand like this one and avoid putting the lotion on sensitive areas like the hands, face, and diaper area.
Frankincense, lavender, rosewood are all great options to try!
And The Star of The Show: Breastmilk!
You won’t need too much for this recipe. I use 4 ounces to make two jars of lotion, but you can definitely cut it in half if you don’t have that much on hand to use!
Supplies Needed to Make Lotion
You just need a couple of supply items to make this recipe:
Double Boiler (But if you don’t have one, read below!)
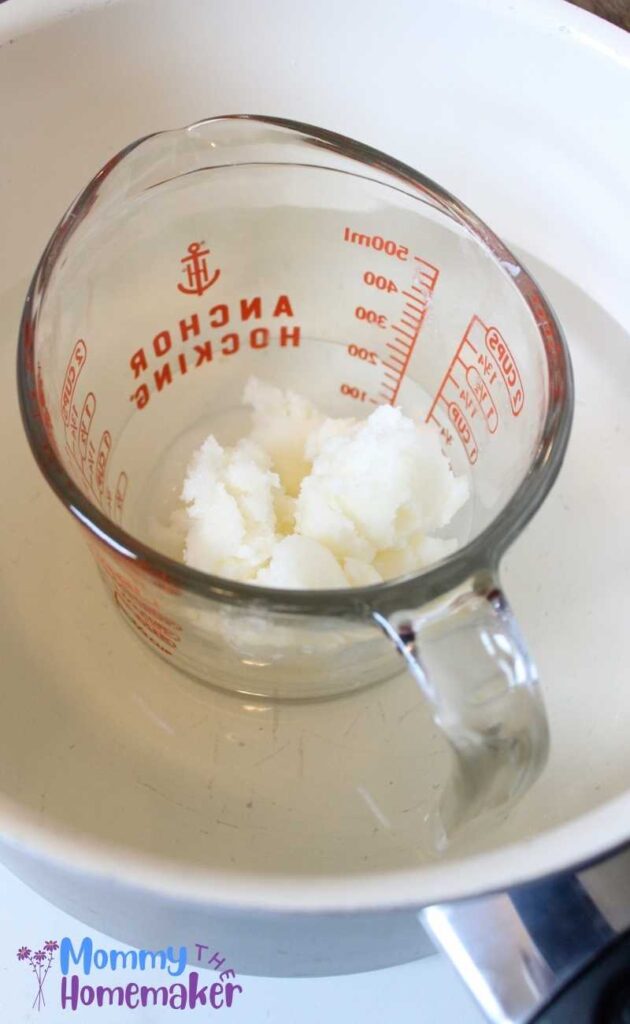
A double boiler makes things a whole lot easier when making the lotion, but if you don’t have one that’s okay! You can also place a glass bowl over the top of a small saucepan with water filled halfway, OR place a glass measuring cup down into a saucepan with water. Just be reallyyyyy careful stirring the oil, the steam from the saucepan can get really hot.
Keep reading below to see how I use just a glass measuring cup with a saucepan.
Small Glass Jars or Airtight Containers
Once your lotion is cooled down and all mixed together, you’ll need something to store it in. I love these glass jars, the 4 oz size is perfect and the quality has been great. This recipe makes two 4 oz jars.
How to Make the Breastmilk Lotion Recipe Without Beeswax
Ingredients
8 Tablespoon Beef Tallow or Shea Butter
2 Tablespoons Carrier Oil of Choice (Grapeseed, jojoba, olive oil, etc.)
10 Drops of Vitamin E Oil
7-8 Drops of Essential Oils (Optional, see note about babies under 3 months of age)
4 Ounces Room Temperature Breastmilk
Step 1 – Combine Tallow/Shea Butter with Carrier Oil and Melt
Grab your double boiler or glass bowl and combine the tallow/Shea butter with your carrier oil of choice (such as grape seed oil, olive oil, jojoba, etc.). Melt that down over medium high heat while stirring frequently.
Step 2 – Allow Oil to Cool Before Adding Other Ingredients
This is very important to let the oil come down to room temp before adding the other ingredients. If it is too hot, it can destroy the breastmilk’s healing properties and antibodies.
Step 3 – Add in Remaining Ingredients
When the oil cools enough add in the vitamin e oil, room temperature breastmilk, and essential oils if using. Use a whisk to stir everything together well.
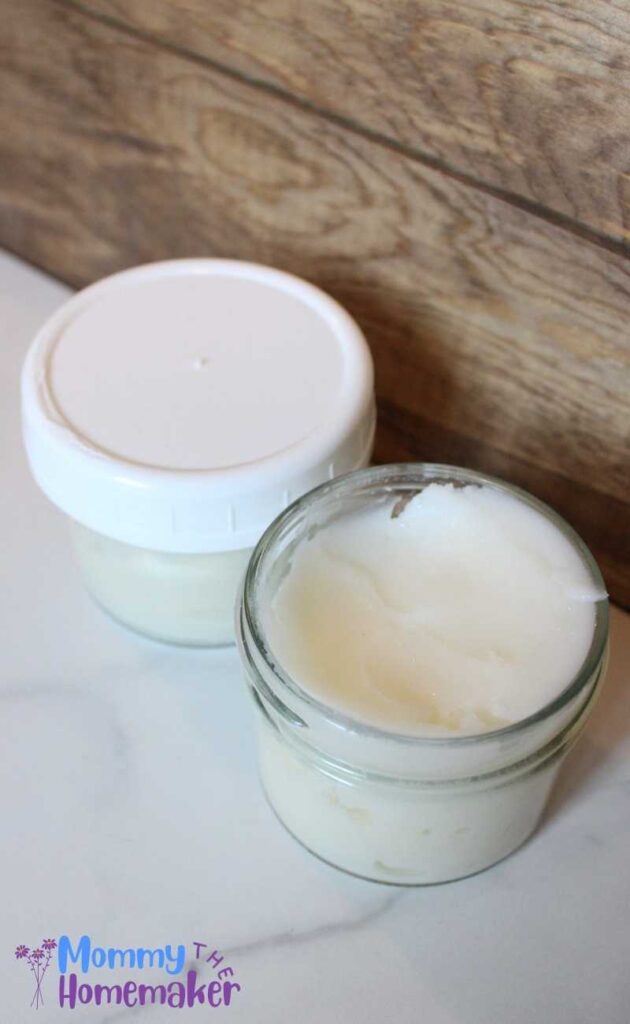
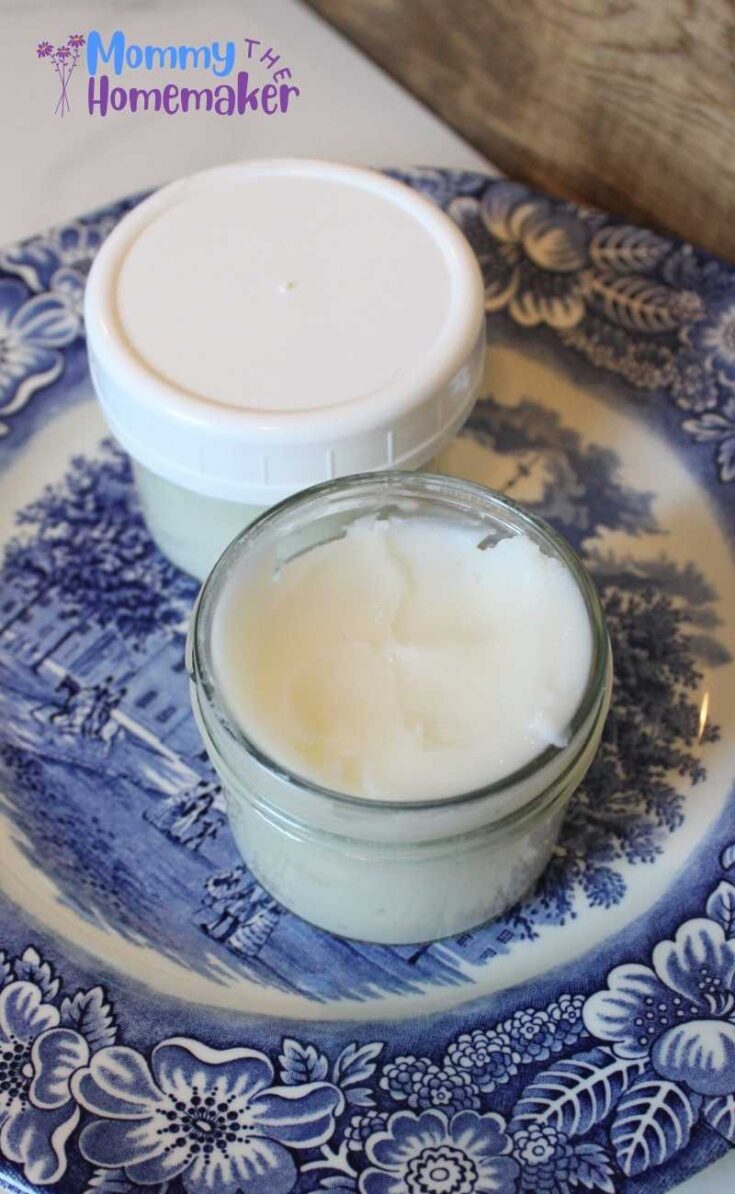
Step 4 – Pour the mixture into glass jars.
Grab two 4 oz glass jars and pour your lotion in. Immediately put in the fridge to continue cooling down and solidifying. It is ready to use! Store in the fridge for up to 3 months.
Please Note: Most of the milk will mix just fine with the rest of the ingredients. Usually, every time that I make breastmilk lotion there is still a small amount of milk that never mixes. And that’s okay! It is best to stick in the fridge immediately after making, and that can help with some of the separation.

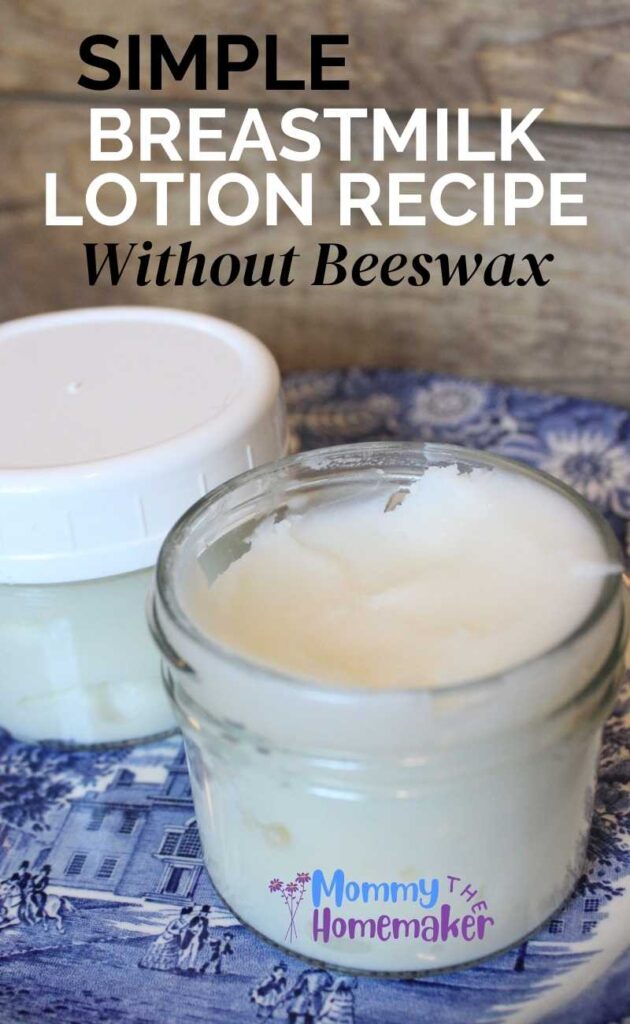
Easy Breastmilk Lotion Recipe (Without Beeswax)
This DIY breastmilk lotion recipe isn’t your typical lotion. It has all natural ingredients that will soothe many irritations and be an immediate form of relief for the whole family, no matter the skin type. And the best part? It calls for ingredients that are most likely already in your cabinet (and freezer stash)!
Ingredients
- 8 Tablespoon Beef Tallow or Shea Butter
- 2 Tablespoons Carrier Oil of Choice (Grapeseed, jojoba, olive oil, etc.)
- 10 Drops of Vitamin E Oil
- 7-8 Drops of Essential Oils (Optional, see note for babies under 3 months.)
- 4 Ounces Room Temperature Breastmilk
Instructions
- Using your double boiler or glass bowl, combine the tallow/shea butter with carrier oil of choice. Allow to melt over medium-high heat while stirring frequently.
- Remove from heat and allow oil to cool to room temperature before adding any other ingredients.
- Add vitamin E oil, essential oils if using, and room temp breastmilk to the oil mixture. Whisk well to incorporate everything together.
- Pour lotion in two 4 oz jars and immediately place in fridge to continue cooling down and setting up.
- Enjoy! Store in fridge for up to 3 months.
Notes
Essential Oils Note
Please note that essential oils ARE NOT recommended for babies under 3 months of age. If using on older babies, be sure to choose a pure, therapeutic-grade brand like this one and avoid putting the lotion on sensitive areas like the hands, face, and diaper area.
FAQ’s
Should I use Beeswax to make breastmilk lotion?
Beeswax is a popular choice for most breastmilk lotion recipes because it is a natural hardening agent, but also because it can be very healing to the skin. But what if you don’t have it on hand? Don’t worry! This simple recipe still sets up great and has natural ingredients that soothes baby’s sensitive skin.
Have beeswax pellets on hand that you want to try in this recipe? Check out my recipe HERE that includes beeswax.
What if my lotion is separating?
Like I shared above, most times when I make breastmilk lotion a portion of milk never fully ‘mixes’ with the rest of the ingredients. But it still works great and I’ve never had an issue with quality because of it. It is a good idea to stick the jar in the fridge ASAP after making the lotion.
Final Thoughts
This DIY breastmilk lotion recipe isn’t your typical lotion. It has all natural ingredients that will soothe many irritations and be an immediate form of relief for the whole family, no matter the skin type. And the best part? It calls for ingredients that are most likely already in your cabinet (and freezer stash)!
SHOP THIS POST
Hi there. Can I use almond oil for this? I have a lot of it. Thanks
Hey Veronica,
Almond oil would be great to use in this recipe. It has a lot of benefits for the skin, plus very moisturizing. Let me know how it turns out!
How long does this keep for? And should i always be store in the fridge?
I recommend keeping it in the fridge at all times for the best freshness. It should last for up to three months! 😊
Do you think it could be frozen to last longer? If i made A bigger batch?
Hi Jaycee,
Yes, bigger batches can be frozen. It should last 6 months to a year that way—just check on it periodically. 🙂
Thanks for trying it out.
Kara
Are these ingredients safe if my baby gets some on his hands and puts in his mouth? Like if I rub it on his hands? Same with face, ok for face or just best to keep off face. New mom of a 10 day old!
Hey Sam,
Congratulations on your sweet little one!! Essentials oils are not recommended for babies under 3 months of age, so I would definitely omit that from the recipe. Everything else should be fine, but you can absolutely leave off the hands and face if you are worried. Doing a patch test first may help as well. 🙂
I used my immersion blender when it was time to mix everything together and it almost immediately emulsified beautifully with no separated milk. If you have one of those it’s a handy tool!
That is such a great idea, thank you for sharing! It’s been on my list to grab one for the kitchen. 🙂